
There are 2 ways to connect to COE-VDI. The preferred method requires the installation of a software client, while the second is easier and uses a standard web browser.
Installing Horizon Client Software (Preferred)
From your laptop, tablet, or smartphone, simply open a web browser and navigate to the URL https://vdi.engr.washington.edu
1. You will see the Omnissa (formerly VMWare) Horizon Screen and the options of installing the Omnissa Horizon Client, or HTML access.

2. Choose “Install the Horizon Client” from the selection page shown above. You will need to know what your devices Operating System is. At the time of publication, the choices looked like this:
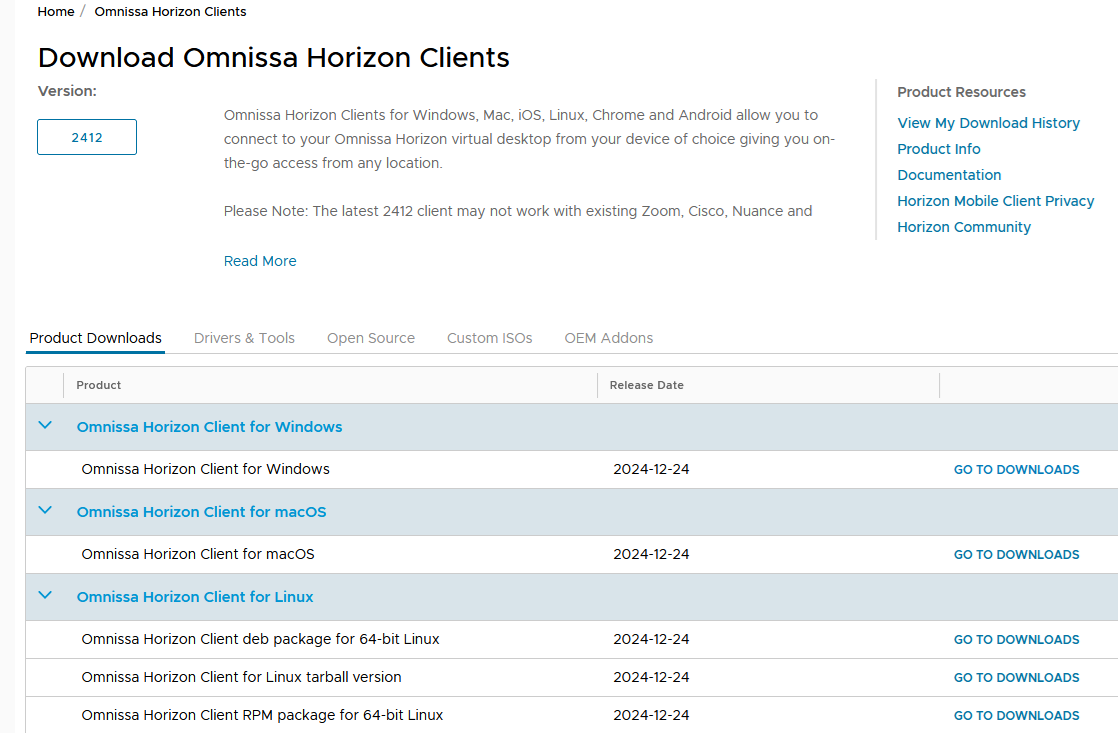
The selections for common devices would be as follows:
Phones/Tablets
- Apple iPhone or iPad – Omnissa (formerly VMWare) Horizon Client for iOS
- Any Android based phone or tablet – Omnissa (formerly VMWare) Horizon Client for Android
Laptops
- Windows based (newer) – Omnissa (formerly VMWare) Horizon Client for Windows – 64-bit
- Mac– Omnissa (formerly VMWare) Horizon Client for Mac
- After identifying the best choice, proceed to the associated ‘Go to Downloads’ page
- Download the file and run.
- Follow the instructions and finish the installation.
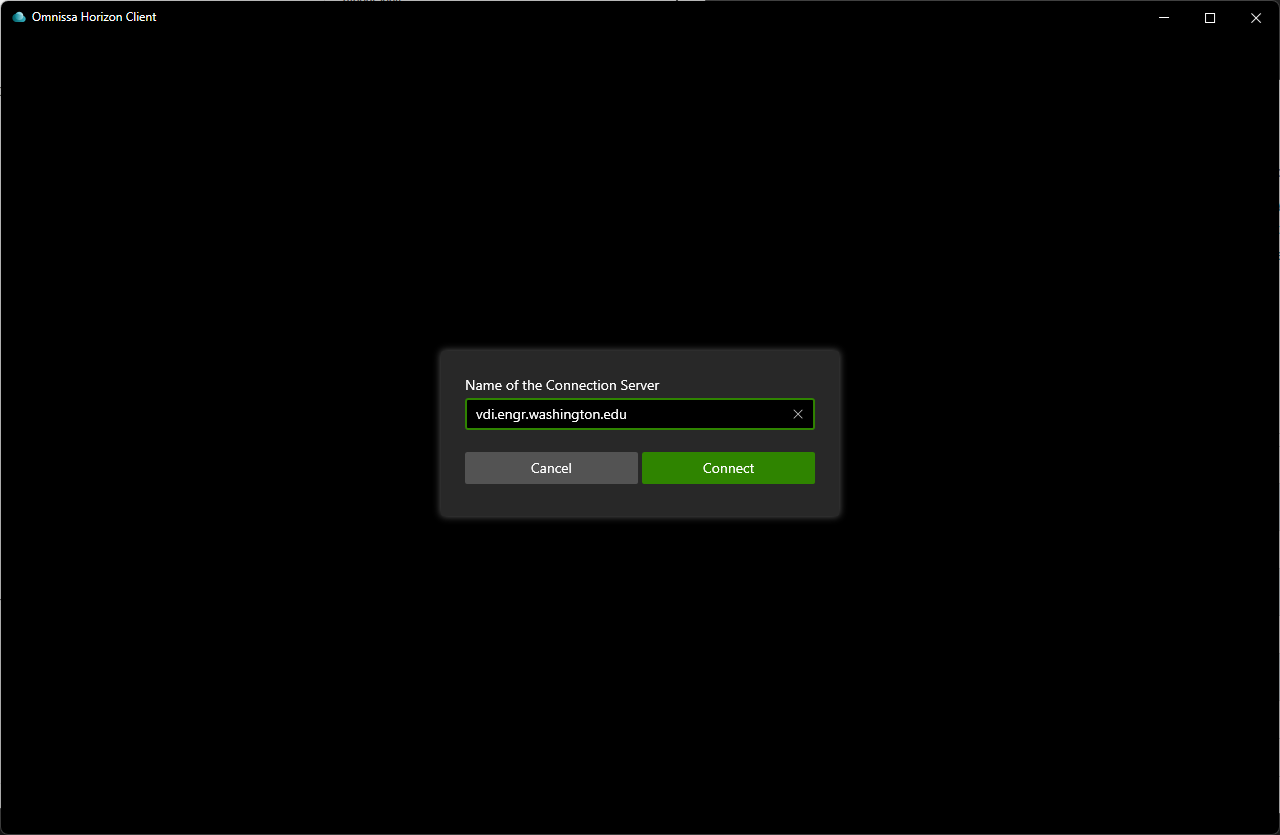
- Launch the Omnissa Horizon Client
- In the Horizon client, click 'Add Server', then enter vdi.engr.washington.edu to connect.
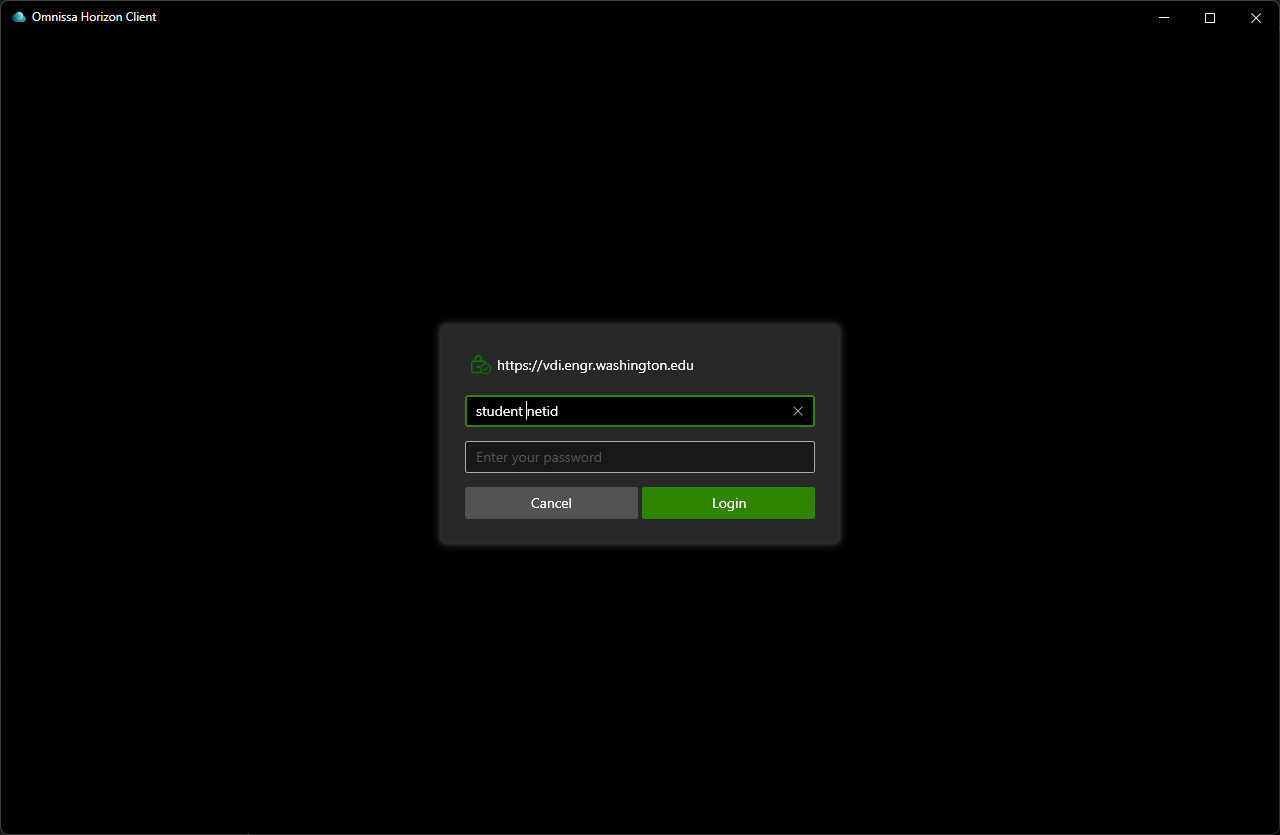
6. You will then be prompted for your UW NetID credentials to connect to a desktop session.
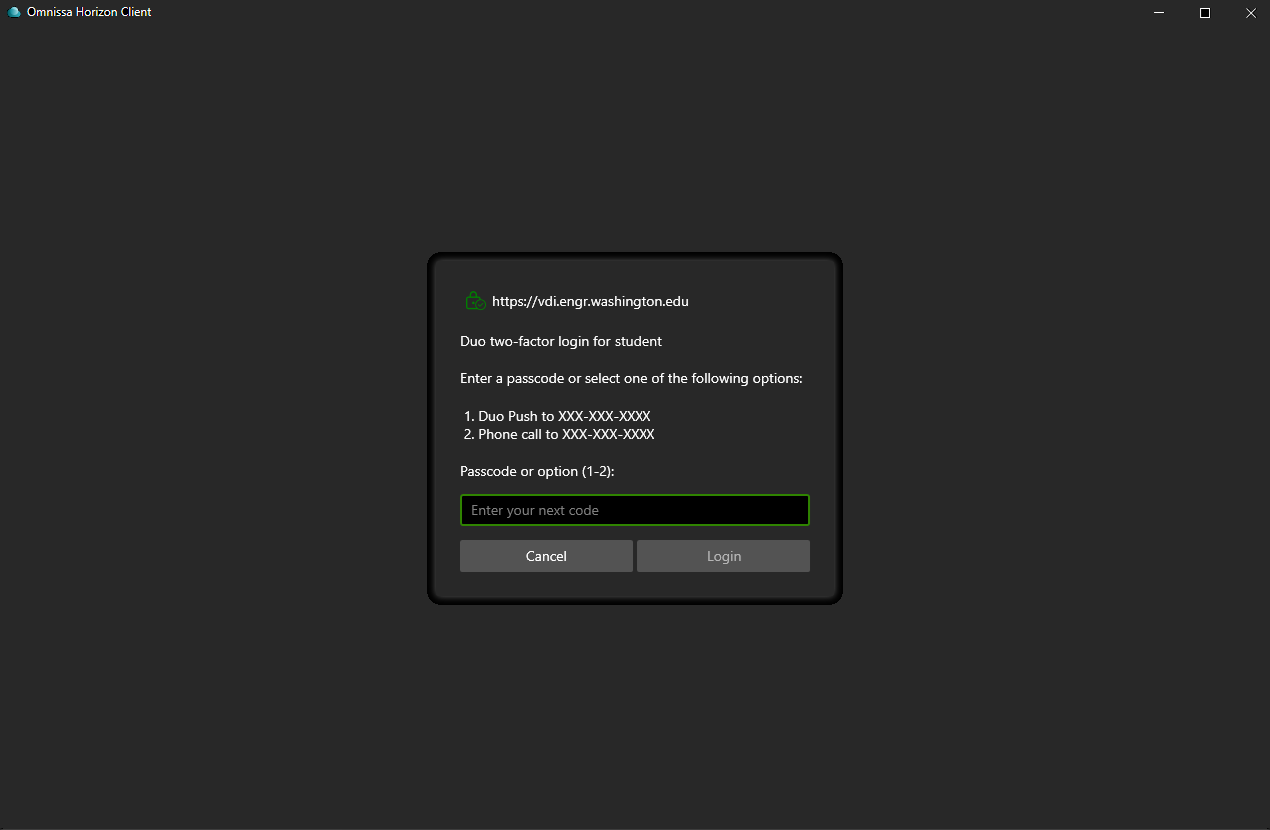
7. (Effective March 28th) After logging in with your NetID you will be asked to use DUO for 2FA. You can either load the app on your phone and type the passcode shown or simply enter 1 or 2 in the field below to do a push notification or to call your phone.
8. Once logged in, you will see a list of your available virtual desktops and applications. Our versioning scheme is YYMM and are typically updated on the second Wednesday of the month.
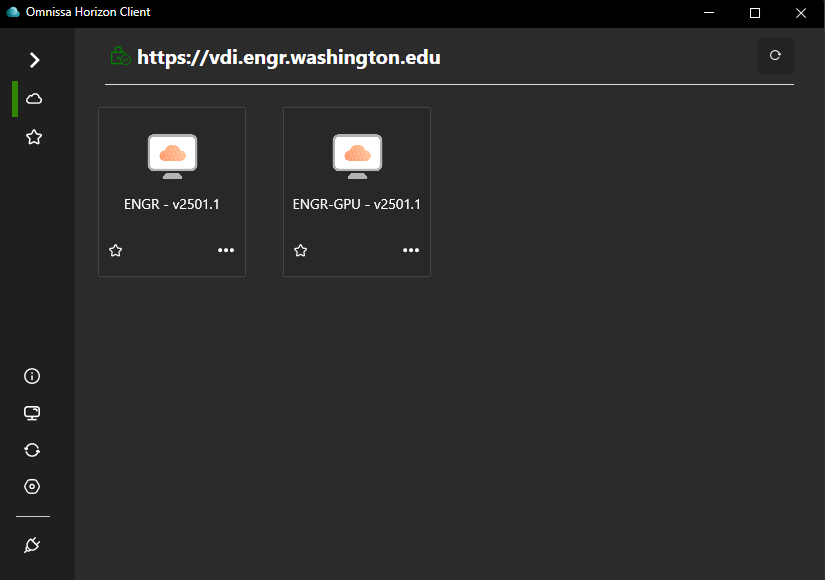
9. You will then be connected to a standard Windows Operating System desktop.
Using HTML access (easiest)
1. From your laptop, tablet, or smartphone, simply open a web browser and navigate to the URL https://vdi.engr.washington.edu
2. You will see the VMWare Horizon Screen and the options of installing the VMWare Horizon Client, or simply using HTML to access.
In most access scenarios, using HTML access provides excellent functionality without the need to bother with installing the Horizon Client.
3. After choosing VMWare Horizon HTML Access, you will be prompted for your UW NetID login credentials.
4. You will then be connected to a standard Windows operating system desktop.
Saving Your Work
Remember that all desktop sessions are non-persistent. This means that the Windows environment is refreshed at each login with no data retention from the previous session. Do not save any data on the workstation you wish to retain. All work should be saved to your U: Drive location.
A link is provided on the VDI session Windows desktop to this location. Syncing for your U: Drive is optional for faculty/staff. For more information about using the U: Drive, see UWIT's U Drive: documentation web page.
Need help?
If you have questions or issues with the VDI system, please contact the COE-VDI help desk.